
If you are planning to restore your hobby shop floor, you need flooring that can withstand wear and tear and keep your floor looking great. Using epoxy rather than regular floor paint will give your floor the durability you need. It lasts for years and works on nearly all types of flooring.
Epoxy is made from a combination of polymer resins and hardeners. When mixed correctly, the resins and hardeners react and chemically bond with each other and with your floor. Epoxy has a smooth, glossy finish that provides resistance to water and heat, making it a perfect protective and aesthetic solution for your shop, man cave, or she-shed!
Choosing the Right Epoxy
You can choose from a few different types of epoxy for your hobby shop floor. Self-leveling epoxy is perfect for restoring an old or cracked concrete floor, though it would work great on a newly poured concrete floor, as well. It will make your floor look seamlessly shiny, smooth, and level.
Epoxy mortar is ideal if your hobby shop needs to be highly chemical-resistant, and if your floor needs to withstand a lot of weight or impact. Many mechanics, commercial kitchens, and manufacturing plants utilize this type of epoxy. Epoxy mortar flooring is made up of completely solid epoxies and quartz or graded sand, making it one of the most durable and stable options.
An epoxy flake floor will create a vibrant look for your shop. Colored flakes are incorporated into the epoxy to create a multi-hued and subtly grooved finish that helps prevent slips or falls.
If you need to save some money, consider using a clear epoxy as the base coat and a colored epoxy for the second coat.
Do It Yourself—Installing Epoxy Flooring
After choosing the type of epoxy you’ll use to restore your hobby shop floor, you can do the job yourself:
- Make sure the existing floor is clean. Get rid of any grease or oil stains, and sweep away debris that could get stuck underneath the epoxy finish.
- If your existing flooring is concrete, it’s important to also check for moisture before proceeding. Concrete is porous, and any moisture can prevent the epoxy from bonding properly.
To check for moisture, duct tape an 18–24” square of plastic sheeting to the floor and let it sit for at least 24 hours. If condensation appears on the plastic or the concrete darkens, moisture is present. Contact a professional to help you find a solution that will act as a barrier between the flooring and the epoxy.
- Set the temperature of the room and floor to at least 65 degrees Fahrenheit, as epoxy is sensitive to cold temperatures.
- Etch concrete flooring with a solution like muriatic acid to allow the epoxy to fully bind. Then, patch any cracks so the epoxy doesn’t absorb into them.
- Fill a container with the epoxy resin and a second container with half as much hardener. Then, pour both together into a third container. Stir with a wooden mixing stick, much like you would with paint. Once it is mixed, pour the solution into yet another clean container and mix one more time for about one minute.
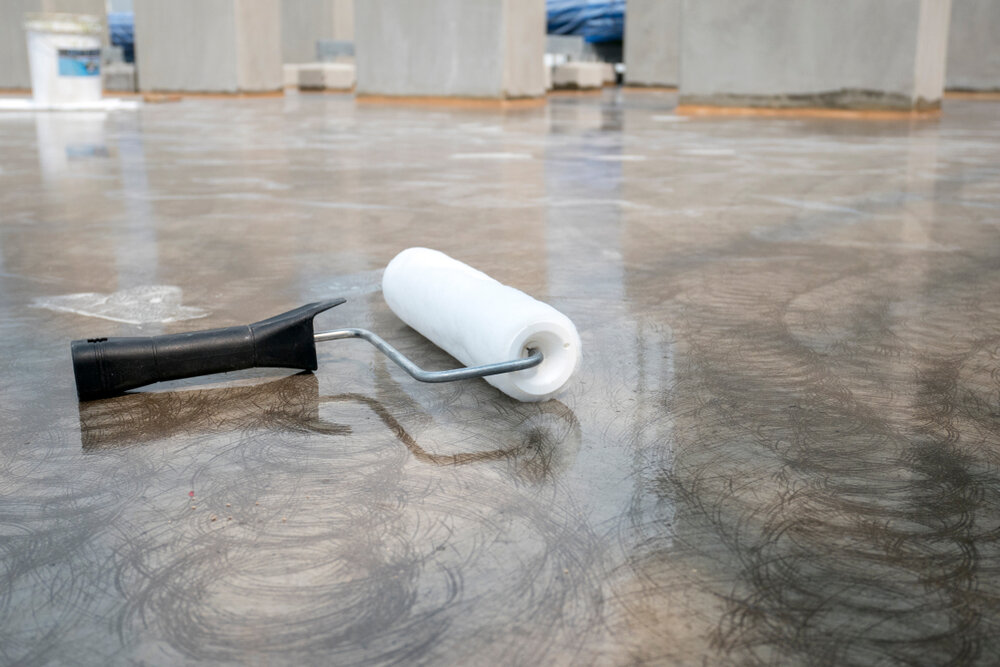
- Coat your entire floor with a foam or nap roller. Epoxy hardens quickly, so you’ll need to work diligently and finish within 30-45 minutes of mixing the solution.
- Let your first layer dry and cure for about 24 hours, then add a second layer.
Once your epoxy flooring is applied, it’s important to keep it maintained. All types of epoxy flooring are very easy to clean. Simply vacuum or sweep up any debris, then use warm water to clean any stains or spills. Every few months, mix a little ammonia or dish soap with warm water for a deep clean. Avoid using citrus cleaners or vinegar, as these can dull the shine and could cause the floor to become too slippery.
If at any time you need help when applying epoxy flooring, or if you need design tips for your shop, it’s best to contact a professional like Pro-Line who has the experience needed to get the job done right. For more advice on creating the perfect workshop, subscribe to our blog today.


.svg)
.svg)